
How to Shift Plants to a New House Without Killing Your Green Babies
When you're packing up your entire life for a move, it’s easy to focus solely on cardboard boxes, bubble wrap, and furniture. But if you are a plant parent, you likely have a collection of leafy green companions that deserve just as much care during transit as your favorite electronics or fragile dishware.
Plants are living, breathing organisms that experience real physical stress when uprooted, boxed up, or exposed to sudden changes in temperature and light. Moving them safely takes a little bit of strategy.
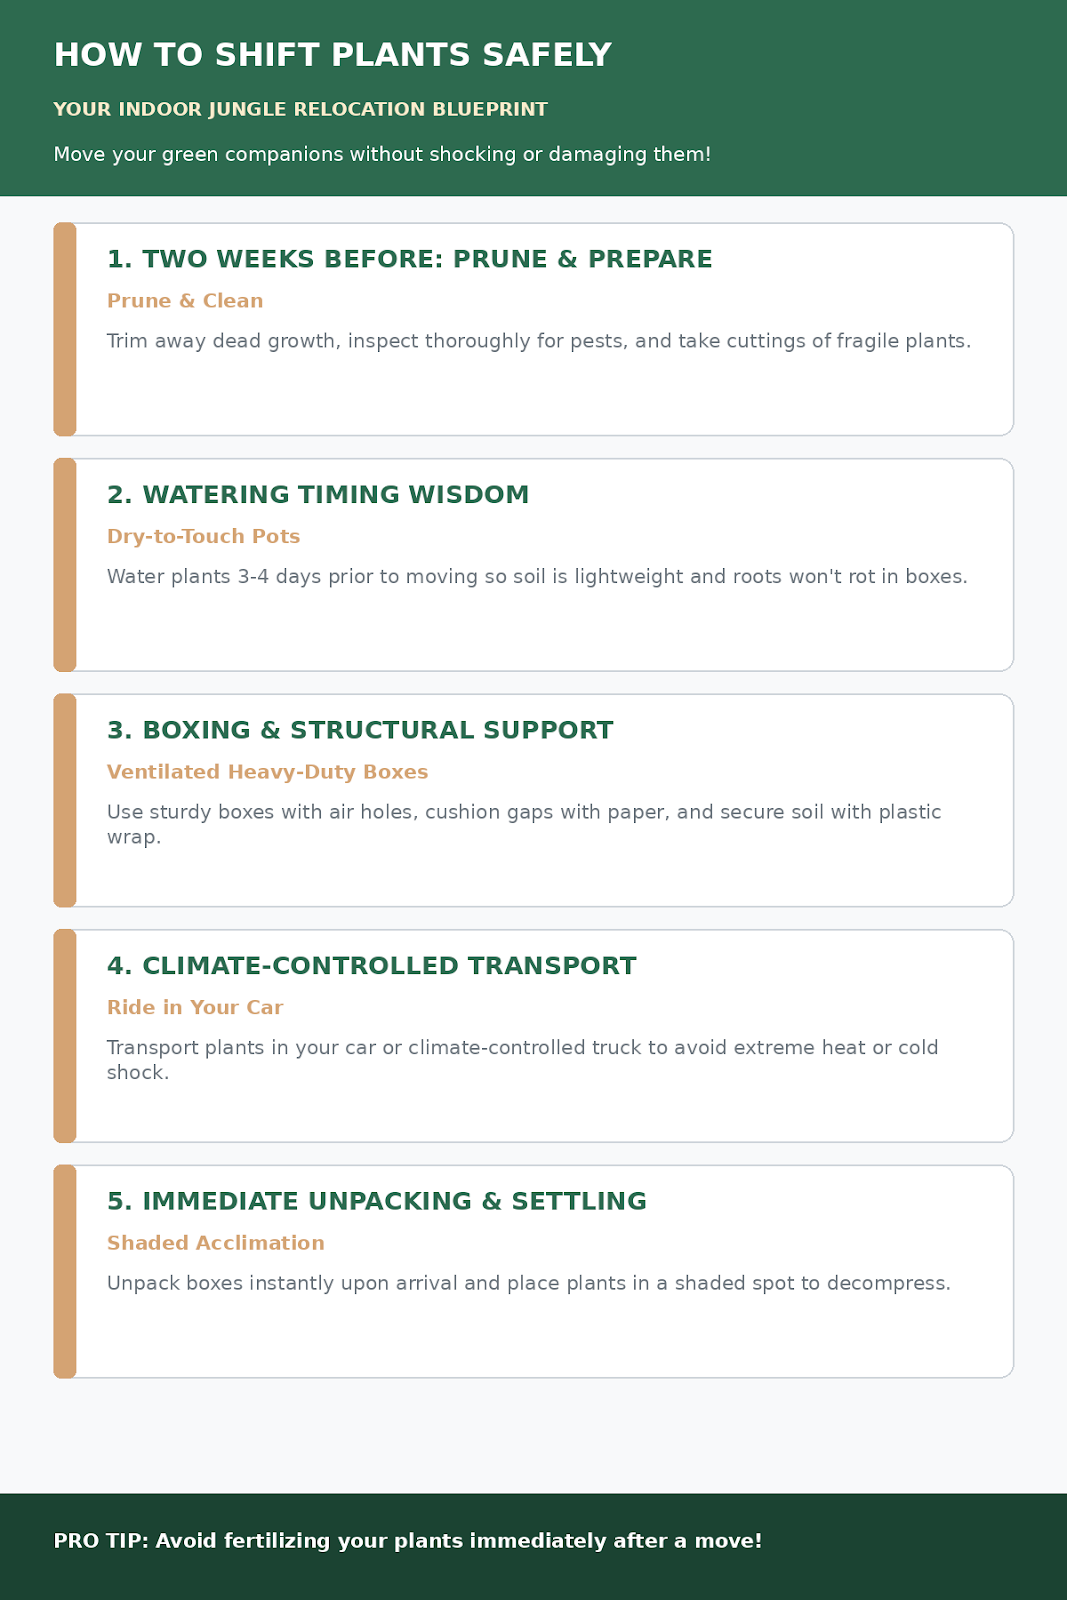
Phase 1: Two Weeks Before the Move—Prune and Prepare Plants don’t love change, so giving them a head start before moving day will make the transition much smoother.
Prune Dead Growth: Trim away dead leaves, spent blooms, or overgrown vines. This reduces the plant's overall energy load and makes them easier to box up.
Pest Check: Inspect your plants thoroughly for mealybugs, spider mites, or fungus gnats. You definitely don't want to transport pests into your pristine new home or contaminate other plants.
Propagate Delicate Cuttings: If you have large, fragile plants that might snap during transit (like a massive Monstera or sprawling Pothos), take a few stem cuttings to propagate in water beforehand just in case. Phase 2: A Few Days Before—Watering Wisdom Timing your final watering is crucial.
Don't Water Right Before Shifting: Wet soil is heavy, messy, and prone to rotting roots if trapped in a dark, sealed box.
The Sweet Spot: Water your plants thoroughly about 3 to 4 days before moving day. This gives them time to absorb moisture while letting excess water drain out so the pots are relatively lightweight and dry to the touch on moving day.
Phase 3: Packing Your Plants Safely Cardboard boxes can work wonders for plants if you pack them with structural support.
Use Heavy-Duty Boxes: Opt for sturdy, double-walled boxes. Poke ventilation holes in the sides so your plants can breathe.
Cushion the Base and Gaps: Place crumpled newspaper, packing paper, or bubble wrap at the bottom of the box and between individual pots.
Secure the Soil: If you are worried about loose soil spilling out during transit, wrap the top of the pot snugly around the base of the stem with plastic wrap or a plastic bag secured with a rubber band.
Keep Them Upright: Clearly mark the boxes with "THIS SIDE UP" and "FRAGILE: LIVE PLANTS" arrows so loaders know never to stack anything on top of them or flip them over.
Phase 4: Transporting Your Greenery Ride in Climate Control: Whenever possible, transport your plants in your own car or a climate-controlled moving truck rather than shoving them into a hot, unventilated cargo container. Extreme heat or freezing AC drafts can shock them instantly.
Unpack Immediately: The moment you arrive at your new house, unpack the plant boxes first. Free them from their dark enclosures and place them in a shaded spot indoors to decompress.
Settling In: Post-Move Care Give your plants a gentle drink of water if their soil feels dry after the journey, but avoid fertilizing them immediately. Let them adjust to their new environment's lighting, humidity, and airflow for a couple of weeks before introducing any plant food.
MoveABox Team
Expert team at MoveABox dedicated to making your relocation experience smooth and stress-free. We share professional insights, tips, and best practices from years of moving expertise.